Student Guide

Slinkys

Experimenting with wave properties

What are the different properties of waves? What makes one wave different from another?

This resource was originally published in PhysicsQuest 2023: Making Waves.

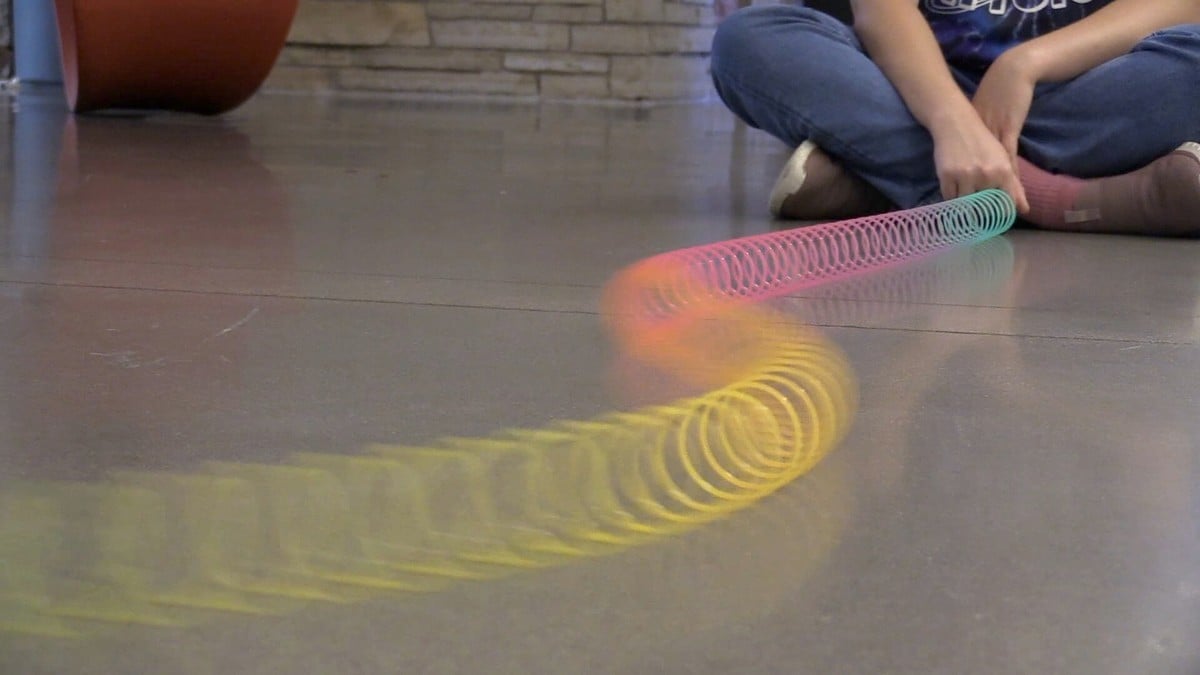
Students making waves with a Slinky

What are the different properties of waves? What makes one wave different from another?

  • One Slinky per group (four to five students per group)
  • Long, smooth area on the floor in a gym or open hallway
Intro

You’re probably aware that Slinkys are fun to play with! They can also help us understand different features and properties of waves. What comes to mind when you think of waves? You may think of ocean waves that crest and fall onto the beach. Or do you ever wonder how we hear music from the radio? Or how doctors can see skeletons when using X-ray machines? If you have wondered these or similar questions, then you are already thinking like a scientist.

In this activity, we are going to seek to understand two different kinds of waves: transverse and longitudinal. We’ll also learn about wave features. What distinguishes one wave from another? We’ll learn some new terminology as we go! So let’s grab some Slinkys, one per group, and start exploring!

After reading the introduction, what is your essential question or objective for this activity?
Before the experiment
  • Why do you think waves might be important? How can understanding waves be useful? To whom are waves useful?

Setting up
  • Your group needs to work in an area with plenty of space! Find a space you can spread out (about 10 feet from one end of the Slinky to the other is ideal. Also make sure you have ample room away from walls or other structures so you can make waves on your Slinky).

  • Station one or two people at each end of your Slinky so you have someone to talk to about what wave phenomenon you’re seeing and what new discoveries you’re making.

  • On a piece of paper or a whiteboard, write down the words: longitudinal, transverse, standing wave, wavelength, frequency, and amplitude. You’ll experiment with the Slinky to understand each of these terms and then use pictures or words to show you understand what each of these words means.

During the experiment
  • Take some time to just play with the Slinkys, because Slinkys are pretty great. At some point, though, you’ll probably want to make transverse and longitudinal waves.

  • Notice how both transverse and longitudinal waves carry energy from one person’s hand to the other — the wave moves through the Slinky in both cases.

  • Demonstrate to your teacher that you know the difference between a transverse wave and a longitudinal wave, and that you know how to create both types of waves using the Slinky. Add what you know about longitudinal and transverse waves to your whiteboard.

    ______teacher initials

  • Now, let’s take time to focus on transverse waves and their properties, because light shares some properties with transverse waves and we’ll be diving deeper into light in later experiments!

  • Make only transverse waves with your Slinky. You’ve likely noticed that the waves created from one end of the Slinky get reflected and will bounce back. These reflected waves can interfere with the waves we are making. We are actually going to use this wave phenomenon to our advantage!

  • If the waves you're sending out match the amplitude and frequency of the waves being reflected from the far end of the Slinky, you’ll end up creating a standing wave pattern — meaning the speed and amplitude aren’t changing, and therefore, it looks like the energy from the wave is moving the Slinky but not moving from person to person. Try to make a standing wave pattern!

  • These standing waves occur at different frequencies, so it’s possible to make different “harmonics.” We (at The Little Shop of Physics) have been able to create six different harmonics on this Slinky. Maybe your group will be able to shake the end of the Slinky fast enough to get to the seventh harmonic.

    For a visual of what these different harmonics look like, view the Physics Classroom's Tutorial.

  • A common misconception is that the first harmonic is one complete wave. But because it’s a crest (top of a wave) that oscillates and becomes a trough (bottom of a wave), over and over again, it’s only ever ½ of a full wave. You need a crest and a trough at the same time to make one complete wave.

    1. 1st harmonic = ½ a wave
    2. 2nd harmonic = 1 wave
    3. 3rd harmonic = ____ waves
    4. 4th harmonic = ____ waves
    5. 5th harmonic = ____ waves
    6. 6th harmonic = ____ waves
    7. 7th harmonic = were you really able to make this pattern? Congrats if you did!
  • Can you make transverse waves of varying lengths? Speeds? Take time to explore and invent ways to figure this out on your own.

  • Use a camera to record the waves so you can play back the video, pause, and rewind as needed. Try using slow-motion capture. Talk with your group mates about the wave phenomenon you’re seeing.

  • Draw pictures or write in words describing what each of the terms on your whiteboard means. (See #3 in Setting Up)

  • Demonstrate using the Slinky that you can create waves of various wavelengths.

  • What happened to the frequency of the waves when the waves got longer?

  • Be ready to discuss what you learned about these wave terms with others.

Conclusion
  • How would you describe what a wave is to someone who was absent from class today? Use all the terms from your whiteboard in your explanation.

Join your Society

If you embrace scientific discovery, truth and integrity, partnership, inclusion, and lifelong curiosity, this is your professional home.